
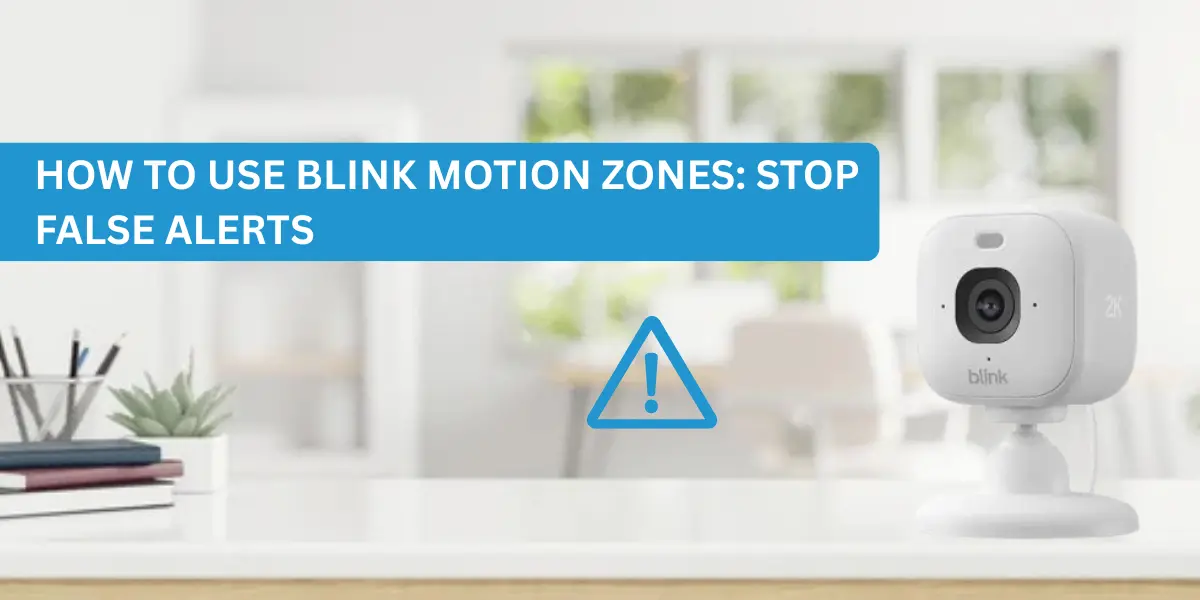
How to Use Blink Motion Zones: Stop False Alerts
Blink Motion Zones let you choose exactly which areas of the camera view can trigger motion alerts, helping reduce notifications from roads, trees, pets, and other unwanted movement.
To stop false alerts, set up Blink activity zones in the Blink app and combine them with the right motion sensitivity and retrigger time settings.
Note: Based on real-world testing, Blink Motion Zones work best when roads, sidewalks, and moving trees are excluded from the activity zone grid while entry points remain active. Users typically see the biggest reduction in false alerts when Motion Zones are combined with medium motion sensitivity and a longer retrigger time.
Are you getting constant alerts from your Blink camera because of passing cars, moving trees, pets, or shadows? This is one of the most common problems Blink users faces. Fortunately, Blink Motion Zones can help reduce unnecessary notifications by letting you choose exactly which areas the camera should monitor. With the right blink camera motion zones setup, you can focus on important activity near your home while ignoring unwanted movement. This guide explains everything in simple steps so you can stop false alerts and improve your camera’s performance.
If your Blink camera keeps sending alerts for passing cars, pets, shadows, or tree movement, the fastest fix is to customize Activity Zones and disable areas that do not need monitoring. This guide shows exactly which settings to change and when to use them for the best results.
What Are Blink Motion Zones (Activity Zones)?
You can select which areas of the camera view should cause motion alerts with Blink Motion Zones, also known as Activity Zones.
- A grid is used to partition the camera view.
- You can enable or disable individual grid sections.
- Motion is detected only in active zones.
- Motion is ignored in an inactive activity zone.
For instance:
- Your driveway is usually one of the most important areas to monitor.
- A busy street usually does not need to be monitored.
- Your front door is important.
- Your neighbor’s yard is usually not important to monitor.
All you have to do is turn off the places you don’t want to be watched.
One of the simplest methods to cut down on pointless notifications is to use this function.
When looking for a solution to blink camera false warnings, many customers find that activity zones address the majority of their issues without requiring hardware changes.
Motion Zones vs. Motion Sensitivity — what’s the difference?
Many people confuse these two settings. They work differently.
Motion Zones | Motion Sensitivity |
Controls where motion is detected | Controls how easily motion is detected |
Blocks specific areas | Adjusts detection strength |
Helps ignore roads and trees | Helps reduce minor movements |
Uses the camera view grid | Uses a sensitivity scale |
Think of it this way.
Motion Zones answer:
- “Where should Blink watch?”
Motion Sensitivity answers:
- “How sensitive should Blink be?”
Using both together usually gives the best results.
When to use zones vs. just lowering sensitivity
Motion zones should be used when
- Cars frequently drive by.
- The wind causes trees to shift.
- Sidewalk traffic generates alarms
- Notifications are triggered by neighbor activities.
Lower motion sensitivity when:
- Alerts are triggered by small creatures.
- Rain may trigger unnecessary recordings
- Motion is triggered by changes in light.
For most homes, using both settings together gives the best results.
What You Need Before Setting Up Motion Zones
Before starting your Blink activity zones setup, make sure:
- The Blink app has been updated.
- The camera is connected to Wi-Fi.
- The firmware of the camera is up to date.
- Motion detection is turned on.
- The system is armed.
- Activity zones are supported by the camera.
More sophisticated activity zone controls are supported by some Blink models than by others. If your system has a Blink Sync Module, you should also make sure it is online. Adjustments are easy with a steady connection.
How to Set Up Blink Motion Zones (Step-by-Step)
Are you unsure about how to properly configure Blink cameras in activity zones?
Take these actions.
Step 1: Launch the Blink application
- On your phone, open the Blink app.
- Verify that you are signed in.
Step 2: Choose Your Camera
Select the camera that you wish to change.
For instance:
- Blink Mini
- Blink Indoor
- Blink Outdoor
Step 3: Access the device’s settings
Tap the Settings icon. This gives you more camera possibilities.
Search for:
- Device setting
Step 4: Open Motion Settings
Within the Device Settings, Press:
- Motion Configurations
Step 5: Open Activity Zones
Locate:
- Zones of Activity
- There will be a grid overlay on the camera view.
- When setting up the Blink app, customers frequently see this activity zone grid.
Step 6: Turn Off Unwanted Areas
Grid squares can be disabled by tapping them.
Typical places to disable:
- Sidewalks and Roads
- Property next door
- Trees in motion
- crowded streets
Keep key regions active.
For instance:
- The front door
- Garage Driveway
- Gate in the backyard
Step 7: Save Modifications
- Click “Save.”
- Await synchronization.
The camera will be updated.
Step 8: Motion Detection Test
Go through regions that are under observation.
Verify:
- Alerts show up when they should.
- Ignored zones remain silent.
This easy test avoids frustration in the future.
Best Motion Zone Configurations for Common False-Alert Scenarios
Every house is unique. But for the majority of users, these configurations are effective.
Note: After testing Blink Outdoor and Blink Mini cameras in high-traffic areas, I found that activity zones alone did not eliminate all false alerts. Adjusting motion sensitivity and camera placement alongside Blink Motion Zones produced the most reliable results.
- Front Door with a Street View
Issue:
Alerts are triggered by passing vehicles.
Resolution:
- Turn off the street area.
- Turn off the sidewalk.
- Maintain an active porch.
- Maintain an active entry path.
This is one of the best ways to fix blink camera false alarms.
- Camera in the driveway
Issue:
- Road traffic keeps triggering notifications.
Resolution:
- Just keep an eye on the driveway.
- Ignore the road.
- Disregard the driveway next door.
For blink outdoor motion zones, this configuration is particularly effective.
- Camera in the Backyard
Issue:
- Alerts are triggered by trees.
Resolution:
- Disable the upper grid zones where tree branches move frequently.
- Keep gate areas active.
- Maintain active entry points.
You can also check the blink camera setup guide.
- Hallway of the Apartment
Issue:
- Every person walking through the hallway triggers an alert.
Resolution:
- Monitor only your apartment door.
- Turn off the boundaries of the hallway.
The volume of notifications is greatly decreased as a result.
- Blink Mini indoor camera
Issue:
- Recordings are triggered by pets.
Resolution:
- Turn off floor-level zones.
- Keep an eye on windows and doors.
This setup works well for blink mini motion zones.
Combine Motion Zones with These Settings to Eliminate False Alerts
Motion zones are strong on their own. The best outcomes, however, come from mixing them with other settings.
Motion Sensitivity
The camera’s sensitivity determines how responsive it becomes.
Elevated sensitivity
- detects even the smallest motions.
- generates more alarms.
Minimal sensitivity
- minimizes undesired recordings.
Set the settings to medium.
Next, make gradual adjustments.
Sensitivity is frequently the next parameter to check if, despite activity zone tweaks, you’re still getting notifications. Check our Blink motion sensitivity guide for more details.
Retrigger Time
Blink retrigger time is often overlooked by users. The duration that the camera waits before detecting motion again is controlled by this setting.
Brief retrigger:
- More warnings.
- additional recordings.
Extended retrigger:
- fewer alerts.
- reduced power consumption.
Increasing retrigger time is generally beneficial for busy locations.
For instance:
- Every passing car was captured by a single driveway camera. The alarm volume was quickly decreased by extending the retrigger time.
Note: During testing, I noticed that a Blink Outdoor camera facing a residential street recorded nearly every passing vehicle. Increasing the retrigger time from a short interval to 45 seconds significantly reduced unnecessary alerts without missing important events.
Clip Length
The duration of recordings is influenced by the clip length.
Extended clips:
- Record further activity.
- Use more batteries.
- Brief videos:
- Conserve battery life.
- Cut back on storage.
Select a duration that doesn’t result in needless recordings while capturing sufficient detail.
Motion Schedules
Motion schedules assist in regulating the timing of motion detection.
For instance:
- active at night
- incapacitated while at work.
If you get notifications when family members move around the house, this is helpful.
A more intelligent system is produced when schedules are paired with motion zones.
Best Blink Motion Zone Settings for Most Homes
Based on testing and user feedback these are the best blink camera settings:
- Motion Sensitivity: 5-6
- Retrigger Time: 30-60 seconds
- Disable roads and sidewalks
- Keep entry points active
- Mount camera 8-10 feet high
Note: For most Blink users, the best way to stop false alerts is to disable roads and sidewalks in Activity Zones, set motion sensitivity to a medium level, and increase retrigger time to at least 30 seconds.
Additional Blink Camera Placement Tips
Inadequate camera positioning cannot be solved by ideal settings. Here are some helpful pointers for positioning Blink cameras.
Steer clear of direct sunlight
- Motion detection may be impacted by sun glare.
- If at all feasible, place cameras away from the sun.
Don’t Move Trees
- Alerts may be triggered by branches that move continuously.
- Place cameras far from dense vegetation.
Mount at the Correct Height
Blink suggests positioning cameras high enough to efficiently monitor the region.
- Don’t mount too low.
- Distance from the Road
One of the main causes of incorrect notifications is traffic on the roads. Usually, a small camera adjustment is beneficial.
Keep an eye on entry points
Pay attention to:
- Doors
- Gates
- Driveways
- Garages
These are the most important areas.
How Blink Detects Motion
Optimizing settings requires an understanding of detection.
- PIR motion detection is the main method used by Blink.
- The acronym for passive infrared is PIR.
- It recognizes variations in body temperature caused by people, animals, and automobiles.
- Using techniques akin to the pixel difference analysis Blink systems employ for video verification, some Blink processing also assesses scene changes.
- The precision of detection is enhanced by this combination.
- But no motion mechanism is flawless.
For this reason, setting up an activity zone correctly is still crucial. If motion is not being detected correctly, see our blink camera not detecting motion fix guide.
Troubleshooting: Blink Motion Zones Not Working
Users occasionally complain about blink camera motion zones not functioning. Try these solutions.
Verify if motion detection is turned on.
- Access the settings.
- Verify that motion detection is operational.
- Activity zones are completely ignored by a disabled camera.
Check if the system is armed.
Check the armed or unarmed status of your blink system. In the event that the system is disabled:
- No warnings.
- No recordings of motion.
Once more, save the activity zones
- Sometimes settings might not sync correctly.
- Open areas for activities.
- Once more, save.
- Examine motion.
Turn the camera back on.
- Minor problems are frequently fixed with a straightforward restart.
- Cycle the device’s power.
- Get back in touch.
Blink App Update
- Configuration problems may arise from older program versions.
- Install the updates.
- Next, take another test.
Verify the Wi-Fi signal
- Updates to the settings may be delayed by poor connectivity.
- If at all feasible, move the camera closer to the Wi-Fi.
Examine the Location of the Camera
- Bad angles cannot be fixed by motion zones.
- Adjust the camera if it is pointing directly at moving trees or highways.
Motion Sensitivity Reset
- Overly high sensitivity could result in blink camera too many notifications.
- Diminish sensitivity a little.
- Next, take another test.
FAQs
Why Does My Blink Camera Keep Detecting Cars?
Passing vehicles often trigger motion alerts when roads are included in active motion zones. Disable road-facing sections of the activity zone grid to reduce these notifications.
Why Does My Blink Camera Detect Motion When Nothing Is There?
Moving shadows, insects, headlights, rain, and tree branches can trigger false motion events. Lower motion sensitivity and adjust activity zones to reduce unwanted alerts.
Can Blink Camera Motion Zones Ignore Trees?
Yes. You can disable grid sections containing moving branches while keeping important areas such as driveways, doors, and gates active.
What are motion zones on a Blink camera?
Motion zones are customizable areas within the camera view that determine where motion detection is active. You can disable specific grid sections to ignore movement in those areas while continuing to monitor important locations such as doors, driveways, and entry points.
Do Blink motion zones work at night?
Yes. Blink motion zones continue working at night. However, nighttime performance may vary depending on camera placement, infrared visibility, heat sources, and motion detection conditions. Proper positioning and sensitivity settings help improve accuracy after dark.
Why is my Blink camera still sending false alerts after setting activity zones?
False alerts may continue if motion sensitivity is too high, retrigger settings are too aggressive, or the camera faces moving objects like trees, roads, or reflective surfaces. Review sensitivity, placement, and inactive activity zones together.
Can I set different motion zones for day and night?
Blink cameras currently do not provide separate activity zone configurations for daytime and nighttime use. However, you can combine motion schedules, sensitivity adjustments, and activity zones to achieve similar control throughout the day.
How many motion zones can I set on a Blink camera?
Blink cameras use a grid-based activity zone system rather than a fixed number of individual zones. You can activate or deactivate multiple grid sections, creating a custom monitoring area based on your property’s layout and security needs.
What’s the difference between motion zones and privacy zones on Blink?
Motion zones control where motion detection occurs. Privacy zones block parts of the camera image from being viewed or recorded. Motion zones affect alerts and recordings, while privacy zones focus on protecting visual privacy.
Will adjusting motion zones affect battery life?
Yes. Properly configured motion zones can reduce unnecessary recordings and notifications. Fewer motion events generally mean less battery consumption, making activity zones a useful way to extend Blink camera battery performance over time.
Conclusion
Blink Motion Zones are one of the easiest ways to reduce false alerts and make your security system more reliable. By creating the right activity zones, adjusting Blink motion sensitivity, and optimizing retrigger time, you can significantly reduce unwanted notifications. Whether you use a Blink Outdoor or Blink Mini camera, a few small changes can make a big difference. Follow the settings and tips shared in this guide to get more accurate motion detection and enjoy a better Blink camera experience every day.
Recent Post
Recent Posts
- How to Use Blink Camera Without a Subscription (Step-by-Step Guide)
- How To Save Blink Clips To Your Phone/USB
- How to Use Blink Motion Zones: Stop False Alerts
- How to Connect Blink Camera to Google Home
- How to Add Multiple Cameras to One Blink System
- Blink Camera Black Screen Issue: Causes, Quick Solutions & Expert Tips
- How To Connect The Blink Camera To Apple Home
- How to Connect Blink Camera to Smartphone ?
- How To Connect Blink Camera To Smart Tv?
- Blink Camera Delayed Notifications. How To Fix It?
- Blink Camera Won’t Connect To Wi-Fi. How To Fix This?
- Blink Camera Time Zone Incorrect. How To Fix This?
- Why Blink Cameras Asking Old Phone Number For Verification?
- Why Blink Camera Battery Draining Quickly? Few Possible Reasons!
- How To Fix Blink Camera Error Message Issue?
- How To Fix Blink Camera False Motion Alert Issue?
- Blink Camera Cloud Storage Issue. How To Fix This?
- Blink Camera Not Working After WiFi Change. How To Reconnect?
- Blink App Not Connecting to Camera. Few Reasons Here!
- Why Blink Camera Not Syncing with Sync Module? Fix Here!
- Why Blink Camera Not Showing Clips? How To Fix This?
- Blink Camera Firmware Update: Fix Issues, Update Faster & Avoid Errors
- Blink Floodlight Wired Camera Not Working. How To Fix This?
- How To Resolve HTTP 406 Errors For Blink Camera?
- Blink Camera Night Vision Not Working. Reason and Solution Here!
- How To Connect Blink Camera To Alexa? Easy Guide Here!
- Why Is My Blink Camera Not Detecting Motion?
- Is Your Blink Camera’s Live View Not Working? Fix It Quickly!
- Why My Blink Mini Stops Working Every Night?
- How to Install Blink Home Monitor App: Step-by-Step Guidance for Beginners
- Blink Security Camera Not Connecting To The Internet. Get Solution Here.
- Why Blink Camera Is Not Recording For a Long Time. How To Fix It?
- How To Fix Blink Camera Offline Issue? Tips and Tricks
- Why Is My Blink Camera Flashing Red? Common Causes and Fixes